

Affordable Teeth Whitening at Home with Smile Brilliant


It's no secret that I have a bit of a love affair with coffee. I mean I actually get excited to go to sleep sometimes just because I know I get to have my cup of coffee as soon as I wake up in the morning. There were a number of years that I fought my growing dependence on coffee but once I had my daughter (and multiple nights without sleep) I stopped resisting and allowed myself to sink blissfully into a sea of caffeine addiction. She is almost 2 and while I am sleeping through the night again I just can’t seem to kick the coffee cup to the curb. My little rendezvous with my daily cup (or lets be honest…cup’s) of coffee have taken a major toll on my teeth. I had wanted to whiten them for a while but with the increasing business of keeping up with a toddler the thought of finding time to whitening my teeth felt pretty overwhelming.
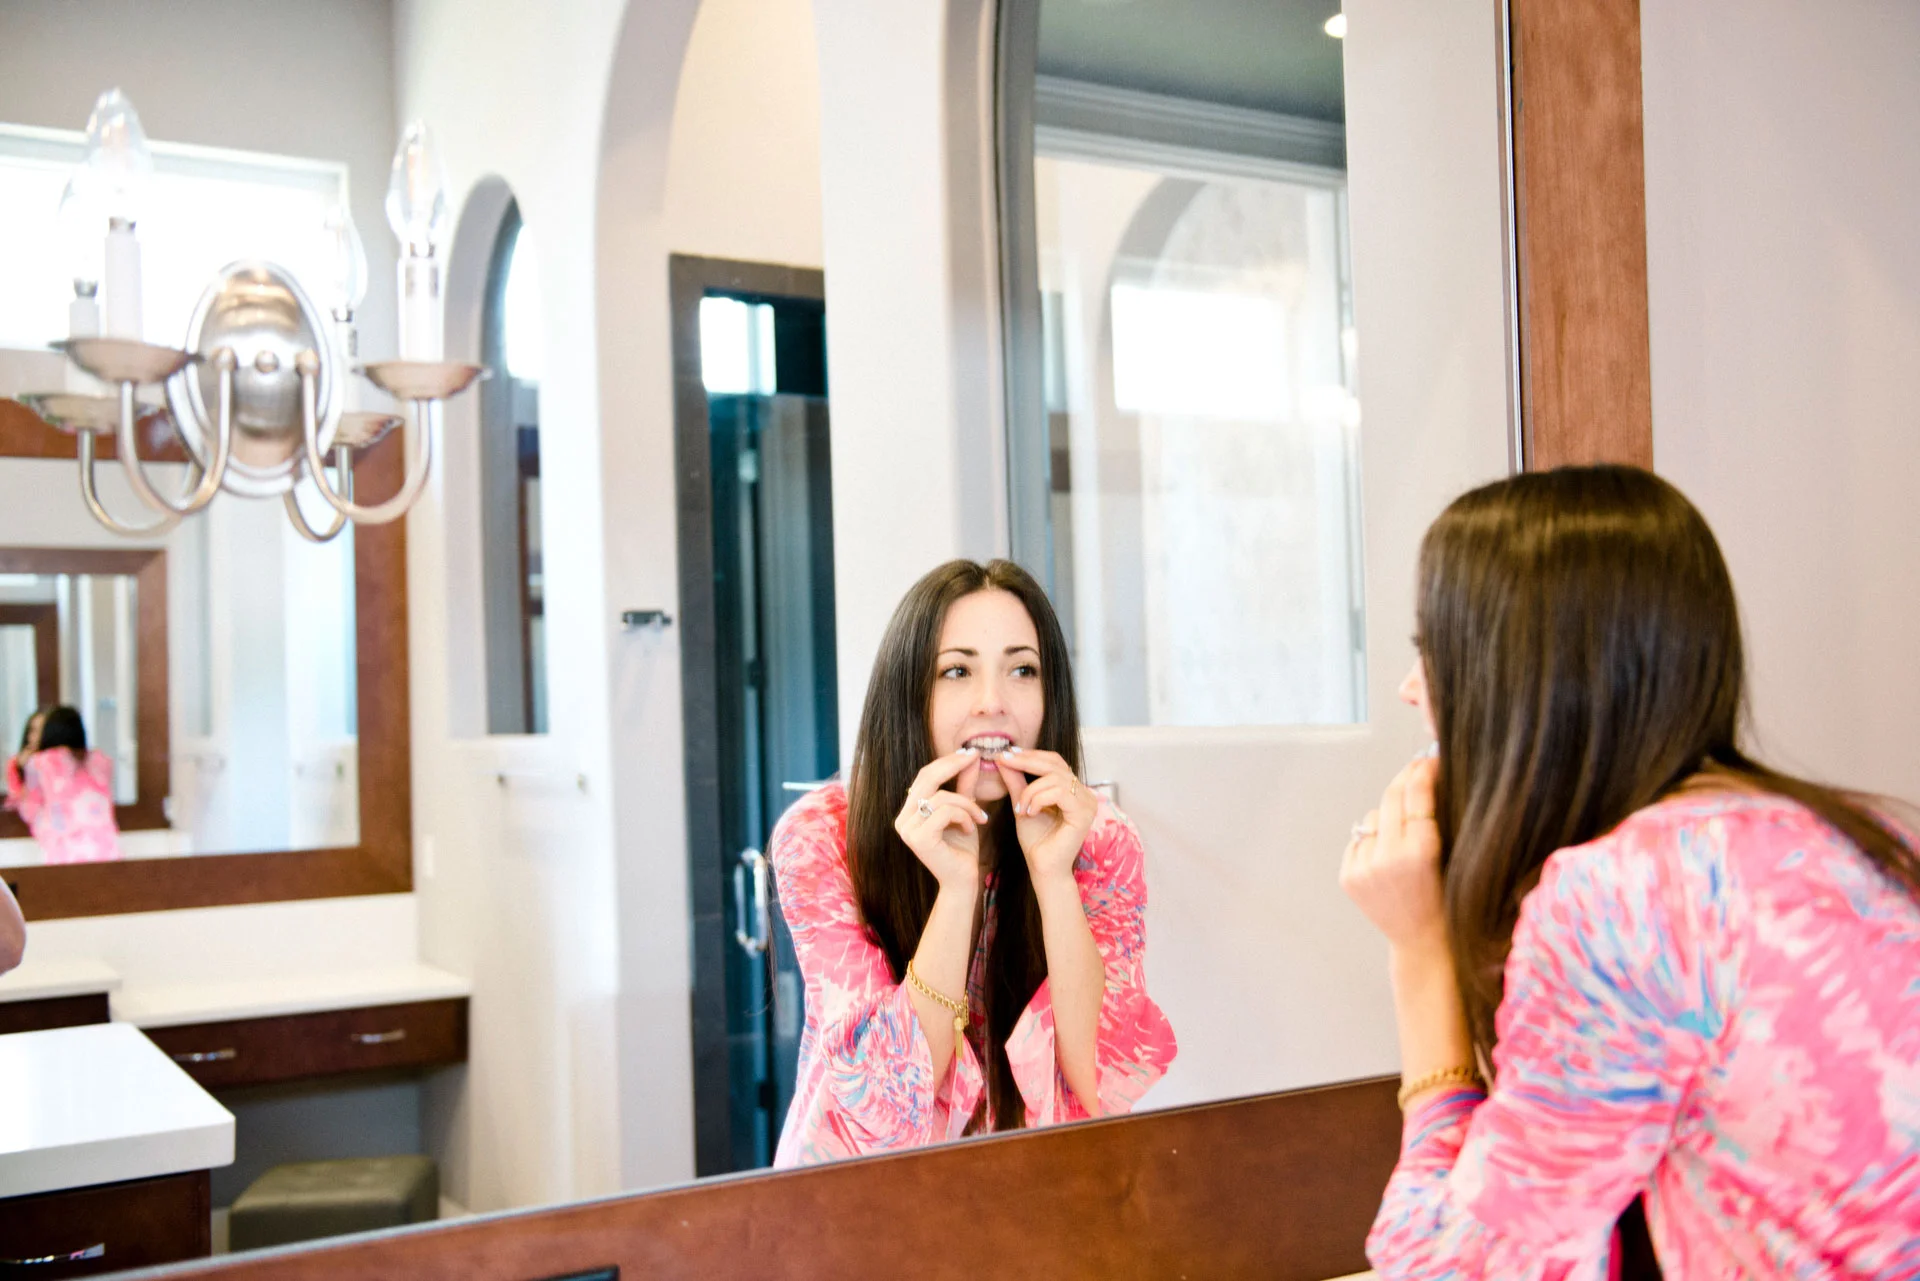
When Smile brilliant approached me to sponsor this post I was excited but again felt a bit overwhelmed at the thought of what would go into this process. Taking my own impressions to create the custom fitted trays sounded a bit intimidating but ended up being such a simple process. Smile Brilliant makes it incredibly easy to take your impressions right from home and then slip them effortlessly in the mail. Soon after, my custom-fitted whitening trays arrived in the mail perfectly custom to my teeth. My normal routine became to put Ayla down for a nap, eat some lunch and after that I would brush my teeth and pop in the trays while I would get work done around the house. Sometimes I would even wear them out to run errands or take Ayla to the park. The trays are clear so they are not very noticeable if you wear them out. If you have been watching my Instagram stories then I am sure you have seen me with the whitening trays in a few times! They are easy to wear and I usually end up forgetting they are in.
The directions say you can keep the trays in from 30 min to around 3 hours. I wanted to get the very most of my experience so for a while I tried to keep them in for closer to the 3 hour mark and whitened my teeth daily. This ended up causing some sensitivity so I had to slow down my pace a bit. I found that whitening every other day for about an hour and half was what worked best for me. The sensitivity went away and I was still seeing dramatic results. I also experienced a tiny bit of discomfort on my gums when whitening but began to put coconut oil over my gums prior to whitening and most of the sensitivity went away. Overall it was an incredibly easy process that resulted in beautifully white teeth.
I had never done an at-home whitening kit before so I was not sure what to expect. I have had my teeth professionally whitened a few times but I was not expecting results to be even close to what I saw at the dentist. I was really amazed as the results were absolutely on par with the costly professional whitening’s I have had done. I found out that the results are the same because it actually IS the same thing you would get from the dentist! This kit is a fraction of the cost and is way more convenient because you never have to leave your home which is perfect for a busy mom like me.
I decided to link a few helpful resources for you guys if you’re feeling a bit unsure about the teeth whitening process. You can read more teeth whitening reviews or some helpful information before purchasing an at home teeh whitening kit. Also, if you’re interested in the teeth whitening gel ingredients you can read more about that as well.
If you would like to purchase a kit you can use the code Kellytowart15 for $15 dollars off a tray. Smile Brilliant has also generously offered to give one of their kits away to one lucky reader! You can enter the giveaway here.


